Soldering wax foundation to frames
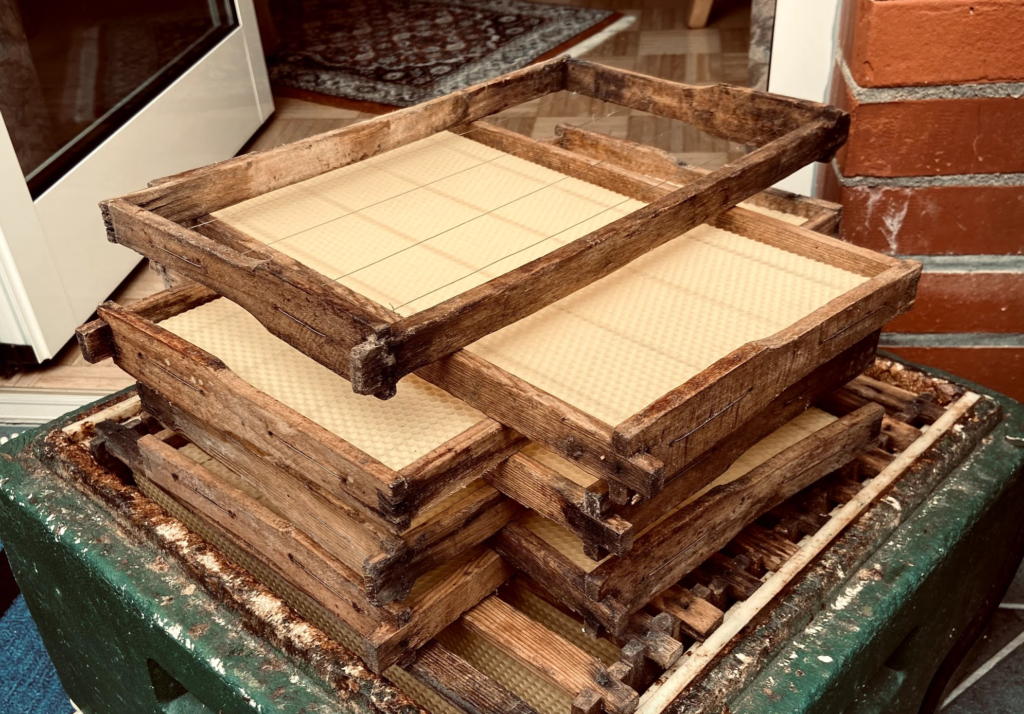
Using frames with wax foundations allows a structured build of the beehive and easily removeable elements during the honey harvest. The frames consist of a wooden frame and a metal wire which is clamped. Frames can be either bought or be self build. As they always have a standard size for the artificial beehives, most people buy them though. The wires enable the beekeeper to solder in a wax foundation plate which has the typical octagon shape of the cells, which the bees build for their hive to either store honey or use for breeding the new generations of bees. Using frames and the wax foundation is saving bees a lot of effort to prepare the structures and gives them more time and with that more energy to invest into breeding, feeding and gathering honey which results in a stronger population of the hive.

Preparation
Three things are needed for the soldering:
- Wax foundation plates
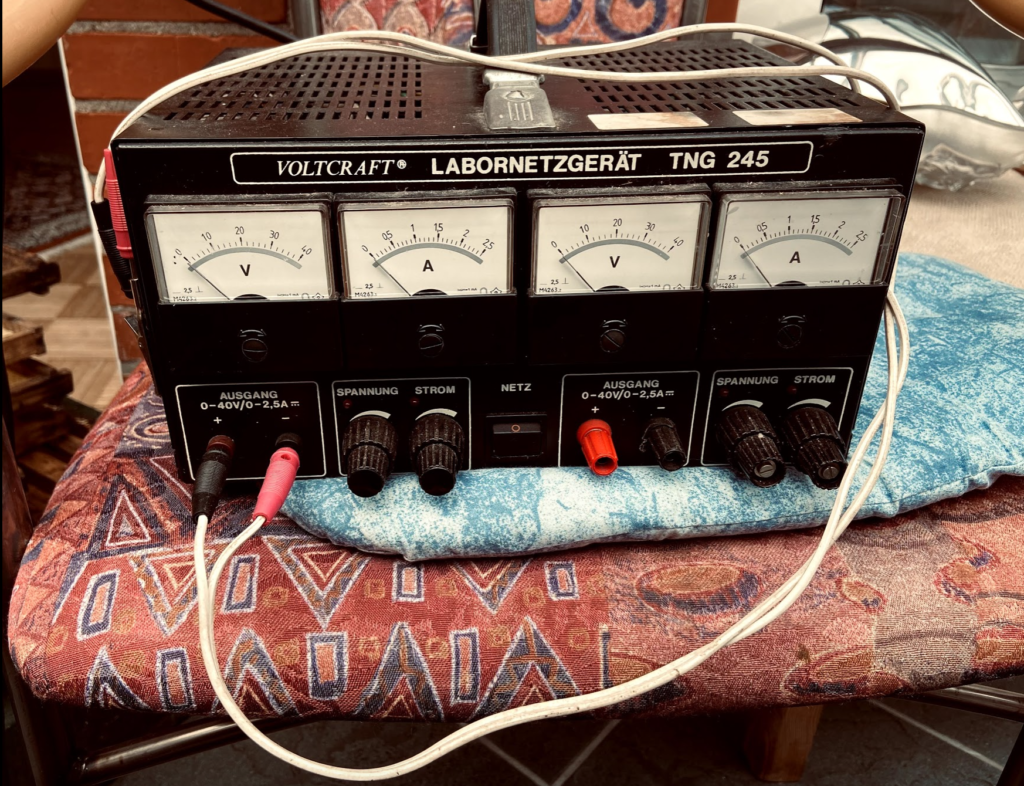
- A transformer for electricity
- Clean frames with metal wire
Wax foundation plates
The plates can be bought in different sizes or be self made with a press with melted wax. It is important for the plates to have a temperature around at least 30°C when being soldered to the frame. The temperature within the bee hive reaches around 35°C and the wax will expand, causing problems if they were fitted in during colder temperature and by that smaller size.


Transformer
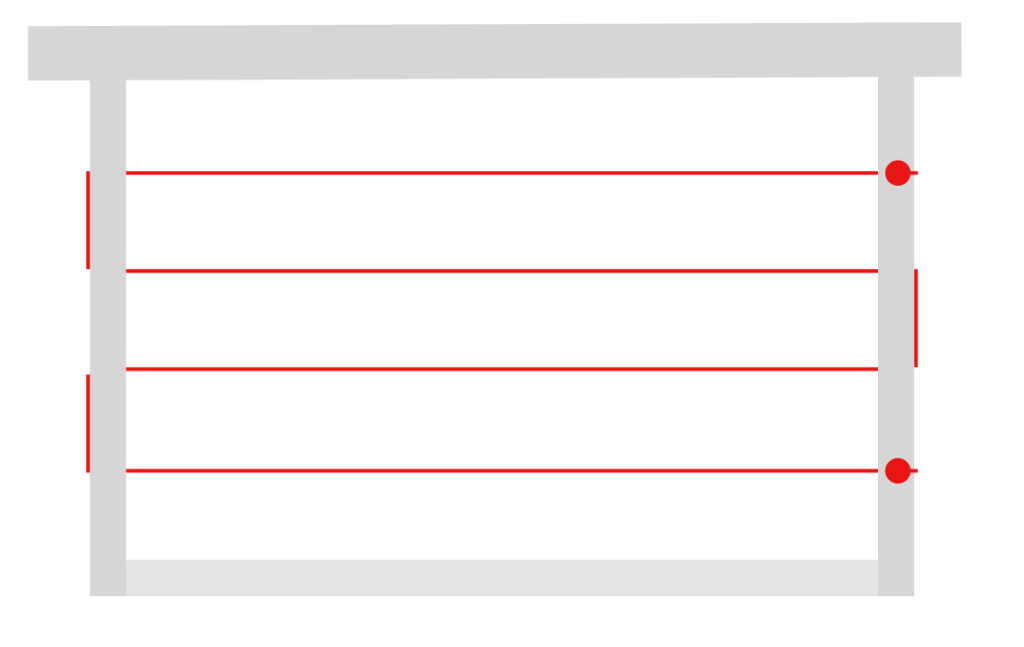
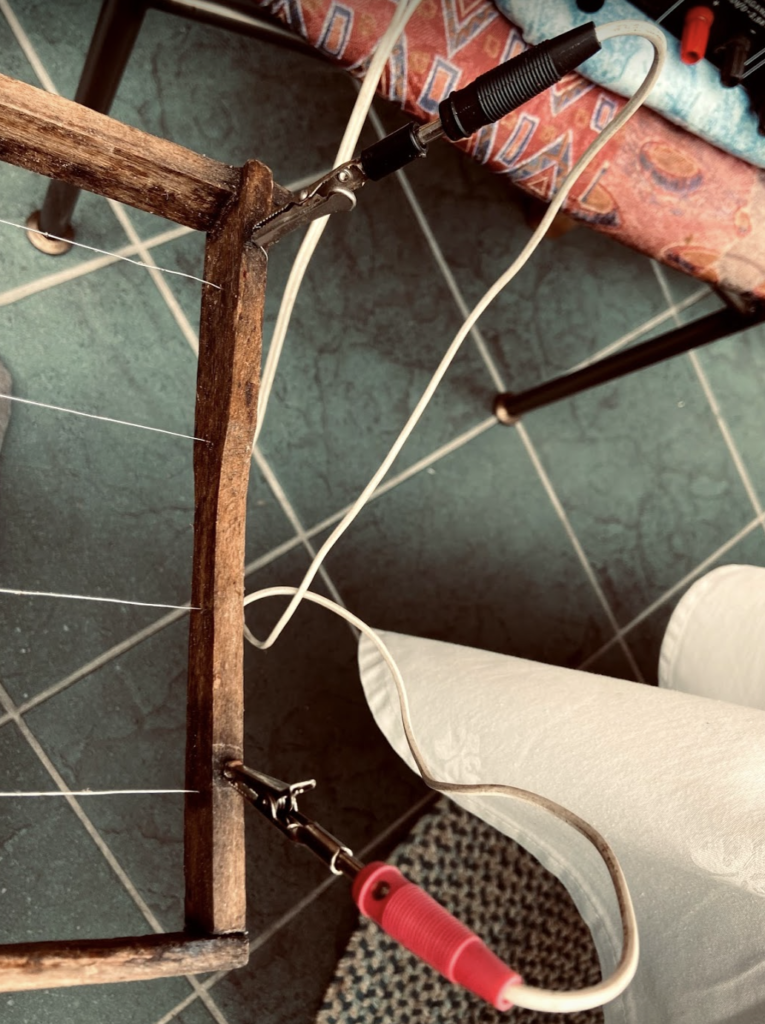
The transformer is needed to create an electricity flow through the metal wire. The wire heats up when the electricity cycle is closed and flows through the wires.
Frames
The frames can be bought or self build and have a specific size fitting to the used bee box. The upper side is slightly longer and enables to “hang” the frames inside the box to railings. Metal wires are pulled through and attached with a nail/screw.


Process
To solder the wax plates to the frames, the wax plate is positioned on the wires. On the bottom there should be a free space of around 2 mm between the wood and the wax plate end. If the position is correct, the electricity is attached and the wires start heating up.
Due to the own weight of the wax plate the metal wires start melting through. Two things are important at this step: detaching the electricity before the wires melted through completely and slightly pressing the wax plate down on the sections where the wire is not close enough to the wax to melt through.

Hinterher muss ich gut saubermachen, sonst bekomme ich Ärger von Oma!
Grandpa while he is vacuuming the space where we did the soldering
